How I Restore Old Photos with AI: My Step-by-Step Process
What’s new on this page
- — Published, based on my own restoration runs with Nano Banana 2.
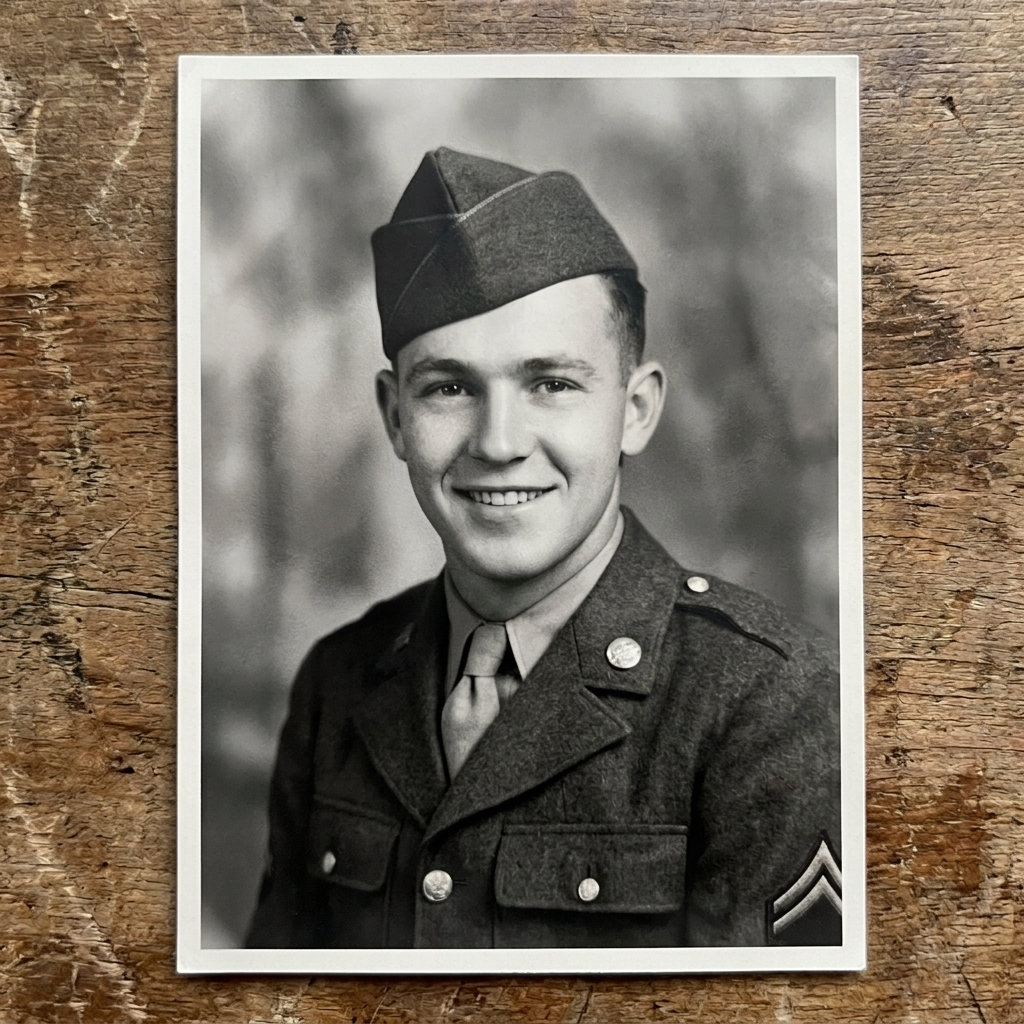
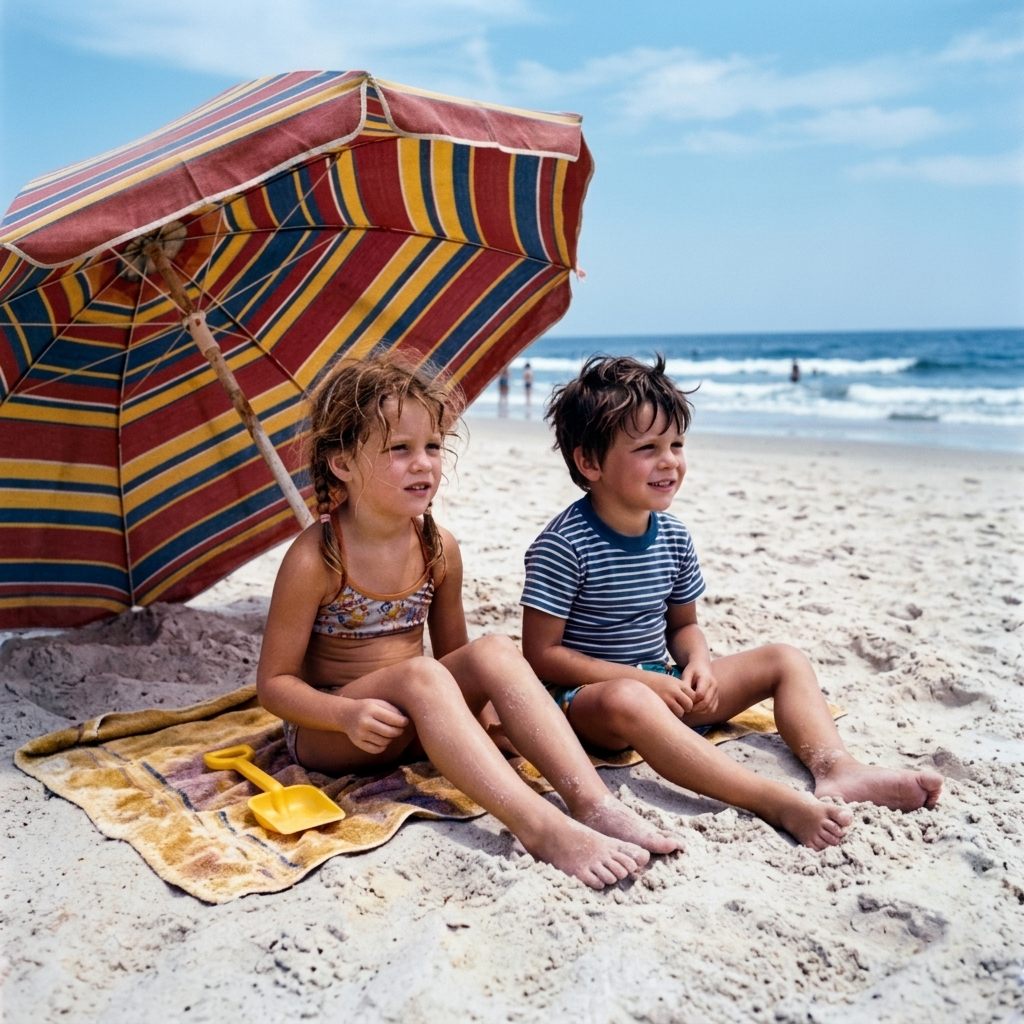
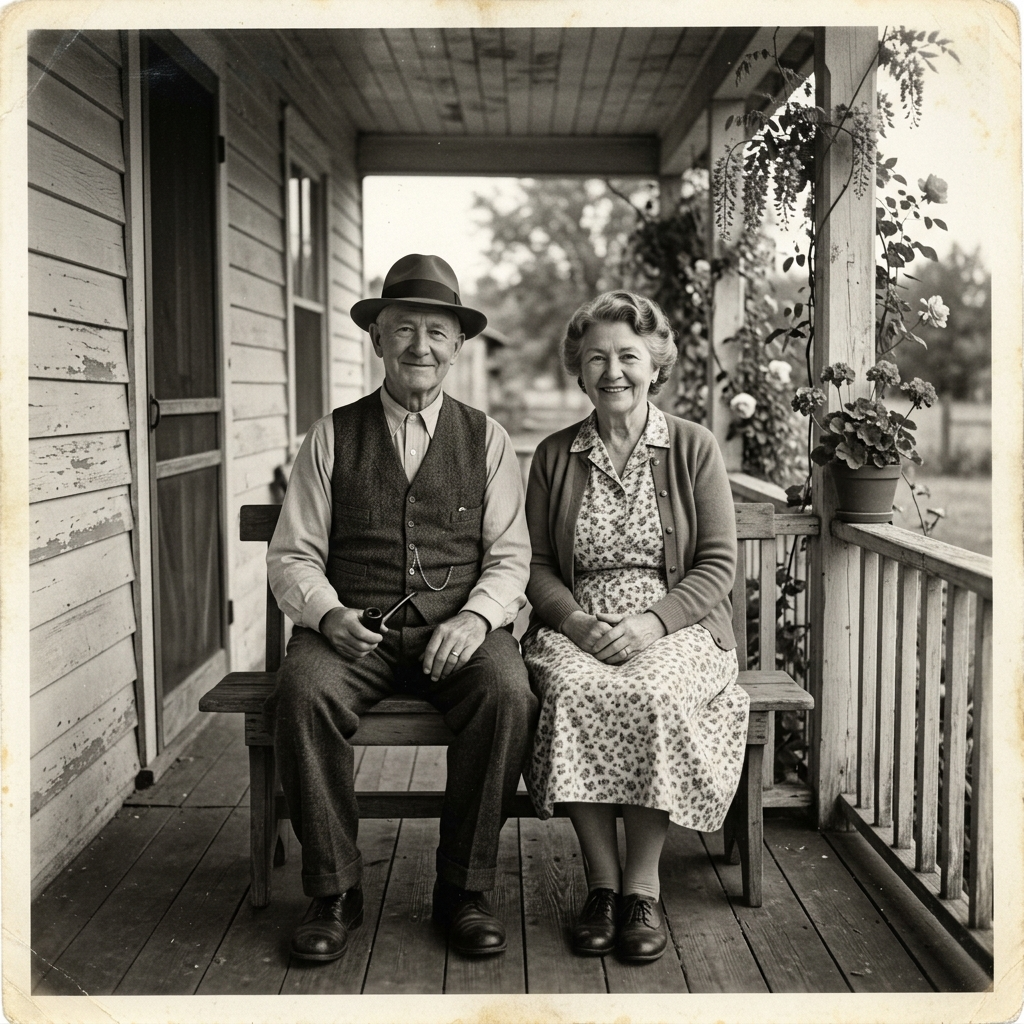
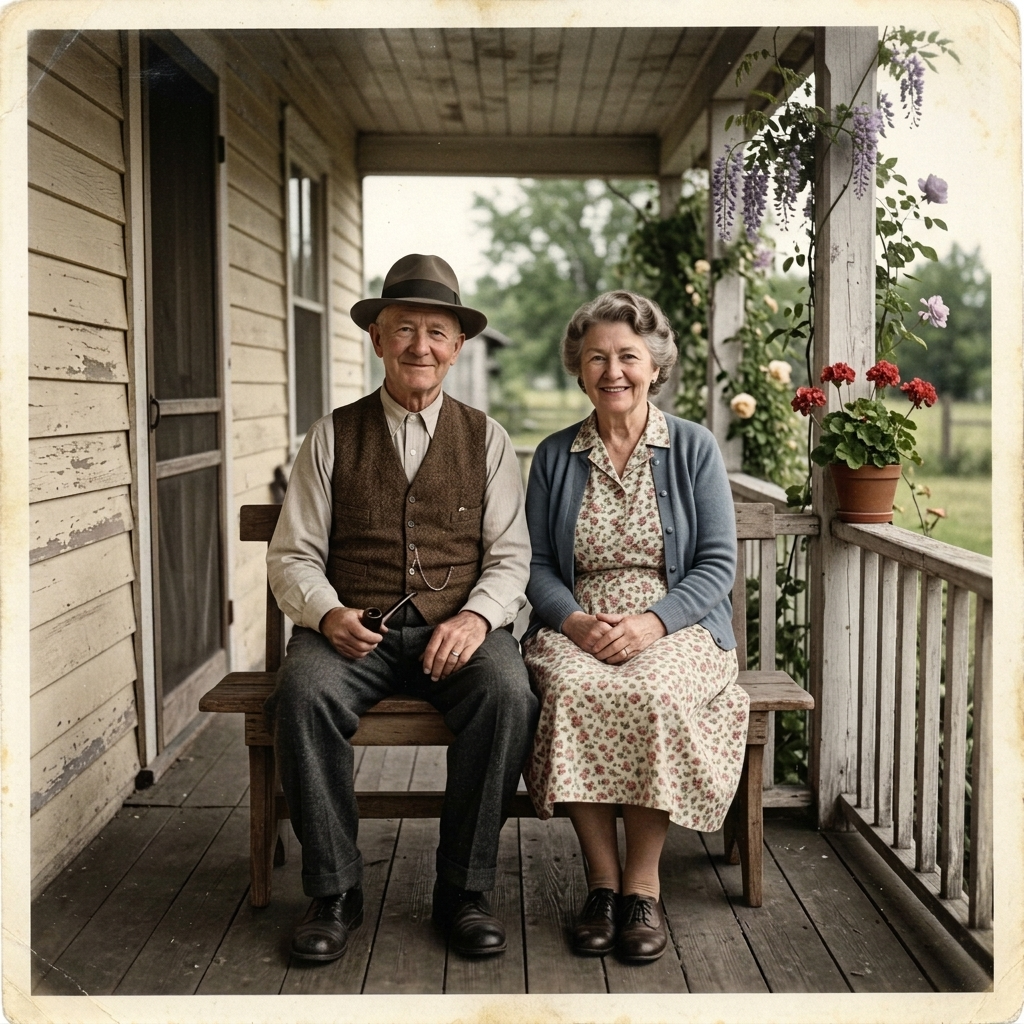
I've restored a stack of old prints over the past few weeks: a folded portrait, a water-damaged family photo, a faded 70s beach snapshot and a black-and-white couple from the 1930s. This is the exact process I settled on, including the mistakes I made at the start, so you can skip them.
Step 1. Get a good digital copy first
This is where I lost the most time early on. My first upload was a phone photo of a print still behind glass, and the AI "repaired" the reflection as if it were a stain. Whatever is in the file, the model treats as part of the photo.
- Take it out of the frame. Glass and plastic sleeves add glare that looks like damage.
- Shoot straight on, near a window. Phone parallel to the print, no flash, no shadow from your hand.
- Fill the frame and crop. Cut away the table, the white border and your fingers before uploading.
- Use a scanner if you have one. 600 dpi or higher, especially for small wallet-size prints.
Step 2. Upload and keep the default prompt
Open aiphotoanimator.ai/restore-old-photos and drop in your scan. The prompt box is already filled with a full restoration instruction. For my first try on any photo, I leave it exactly as it is:
Restore this old, damaged photograph. Remove scratches, dust, cracks, tears, stains, creases and film grain; repair missing or torn areas; fix fading and uneven exposure; recover sharp, natural detail in faces, hair, eyes and clothing. Keep every person's identity, facial features, expression, pose, clothing, background and composition exactly the same. Do not add, remove or move any people or objects, and do not add text, borders or watermarks. Keep the original color tone: if the photo is black and white or sepia, keep it that way.
The important parts are the second half: keep identity, don't add or move anything, keep the original tone. Without those lines, image models love to "improve" a photo by smoothing skin, changing the hairstyle or quietly adding color.
Step 3. Pick a model and resolution
I tried most of the models in the picker. Here's how I ended up using them:
| Model | When I use it | Credits (1K / 2K / 4K) |
|---|---|---|
| Nano Banana 2 | My default. Faithful repairs, faces stay recognizable. | 10 / 15 / 25 |
| Nano Banana Pro | Badly damaged photos, tiny faces, heavy tears. | 25 / 25 / 30 |
| GPT Image 2 | When I want a very specific edit written in the prompt. | 10 / 15 / 30 |
For resolution, 1K is fine for checking whether a prompt works. When I'm happy with it, I re-run at 2K for sharing and prints up to about 8×10 in, or 4K if it's going into a frame.
Step 4. Generate, then compare faces with the slider
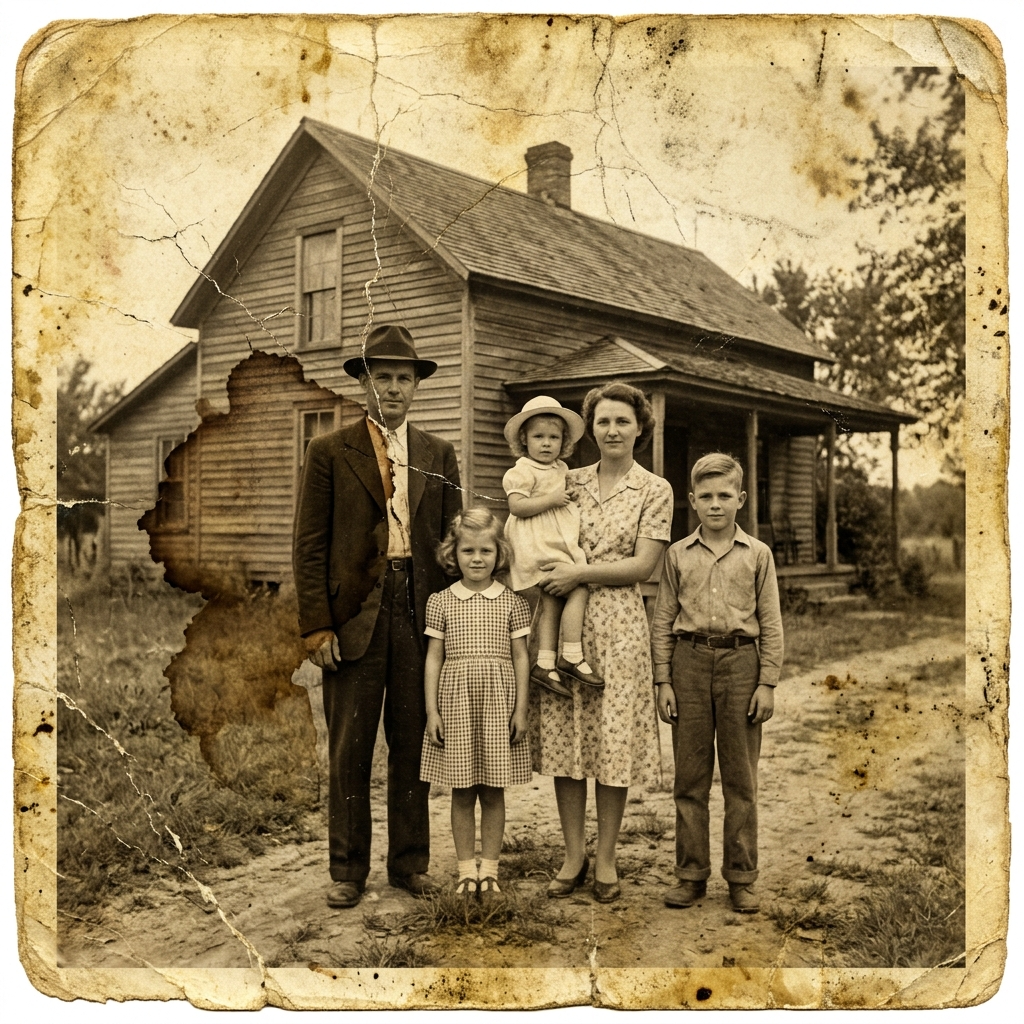
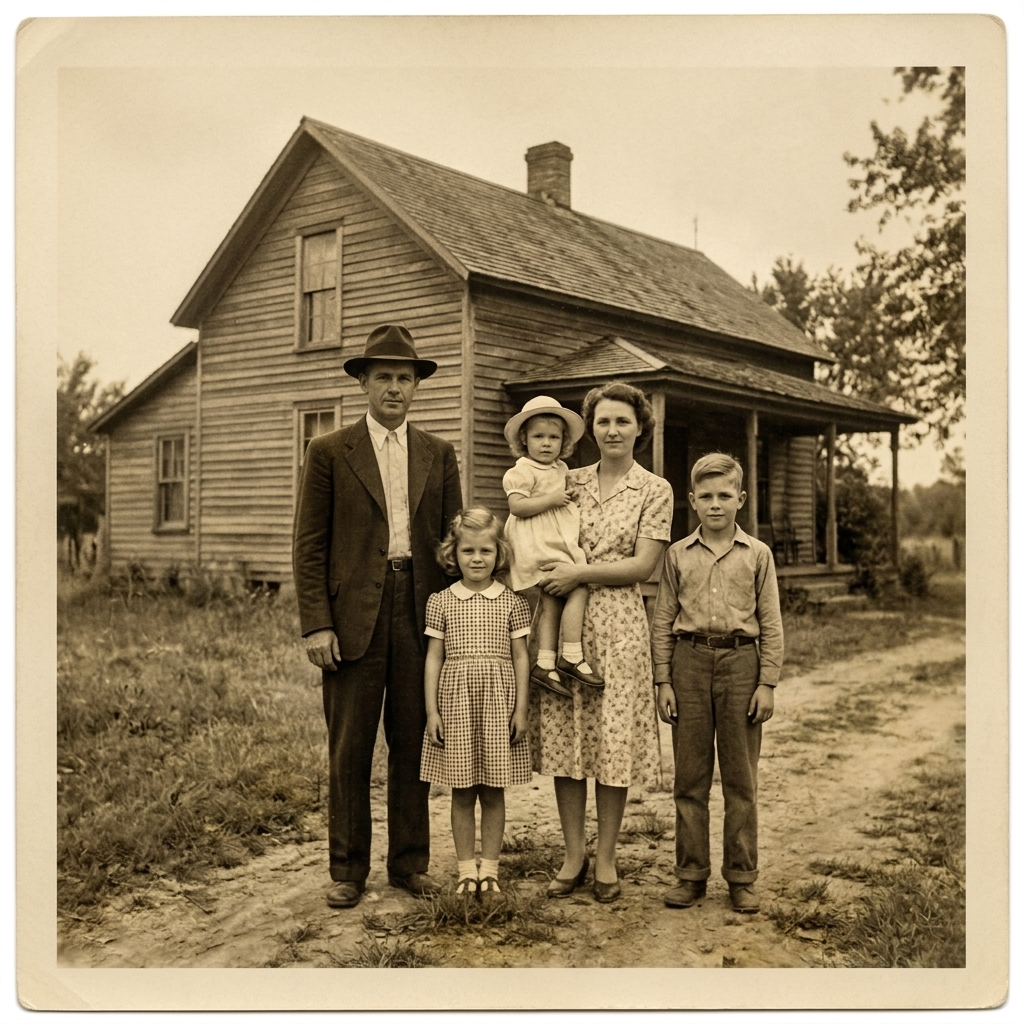
Generation takes well under a minute. The result opens with a before/after slider, and this is the step I never skip: I drag it slowly across every face and look at the eyes, the mouth and the hairline. If someone looks like a cousin instead of the actual person, I don't download it.
Step 5. Change the prompt when the default isn't right
About one photo in three needs a different prompt. These are the four I reuse most, swapped in place of the default:
Only remove scratches
Remove scratches, dust and creases from this photo. Do not change colors, faces, lighting or composition.
Fix a faded color photo
Correct the faded color cast to natural colors, bring back deep blacks and contrast, and keep the people and composition exactly the same.
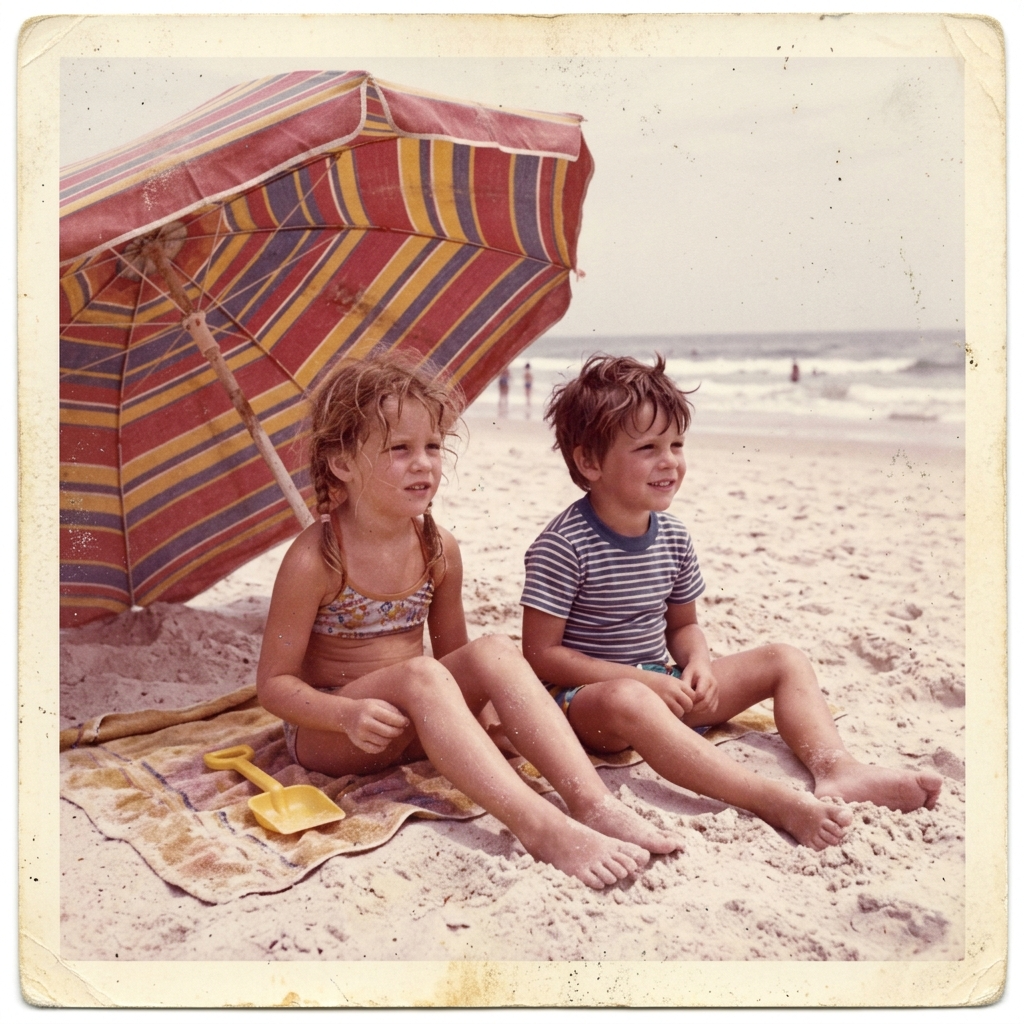
Colorize a black-and-white photo
Colorize this black and white photo with natural, historically plausible colors and realistic skin tones. Keep everything else exactly the same.
Keep the vintage sepia look
Restore this photo: repair damage and sharpen faces, but keep the warm sepia tone and the soft vintage look.
What went wrong for me, and how I fixed it
| Problem | What I changed |
|---|---|
| The face looks like a different person | Switched to Nano Banana Pro and re-ran. If the face is tiny, crop closer before uploading. |
| Glare or a reflection got "repaired" into a blob | Re-shot the print out of its frame, away from the window glare. |
| Colors appeared on a B&W photo | Made sure the prompt ends with "keep it black and white". |
| Skin looks plastic and too smooth | Added "keep natural skin texture and film grain on faces" to the prompt. |
| A torn corner was filled with something odd | Expected: missing areas are a best guess. I ran it twice and kept the better one. |
What I do with the restored photo
I download the 2K or 4K file and print the ones worth framing. For a few of them I went one step further and turned the restored portrait into a short clip where the person blinks and smiles, using animate old photos. Starting from a clean restoration makes a big difference there, since motion makes scratches more obvious.
How much does it cost to restore one photo?
From 10 credits with Nano Banana 2 at 1K. My usual setting, Nano Banana 2 at 2K, is 15 credits. New accounts get free credits to try it.
Which model is best for old photo restoration?
I start with Nano Banana 2 because it changes the least. For very damaged photos or small faces, Nano Banana Pro does better.
Will AI change how my relatives look?
The prompt tells it to keep identity, but small or heavily damaged faces can drift. That's why I always compare with the slider before downloading.
Can I restore a photo with just my phone?
Yes. Take it out of the frame, shoot straight on in daylight without flash, crop the edges and upload.
Is the restored photo good enough to print?
At 2K it prints well up to about 8×10 in. Use 4K for larger prints.
Are my photos private?
Yes. Uploads and results are only visible in your own account and are not published.